Voiding my CPU warranty to make it run cooler
The Delidding procedure I will describe in this article is a technique used to remove the IHS (Integrated Heat Spreader), which is the upper portion of a computer processor, made usually of nickel plated copper.
The purpose of the IHS is to take away the heat from the silicon core and “spread it” to a wide area, in fact the heat sink of any CPU is mounted directly on the IHS.
In order for this to happen, between the silicon chip and the IHS there is a thin layer of TIM (Thermal Interface material) that transfers the heat from the silicon to the IHS.

We can see already that the goal of CPU Delidding is essentially taking the CPU apart and reduce the thickness of the TIM, usually substituting it with thinner materials with an higher thermal conductivity.
This process includes also removing the glue that secures the IHS to the circuit board of the CPU, reducing the gap even more.
Up to Intel 8 Gen (included) the thermal interface material was thermal paste, then due to the increased transistor density of the latest CPUs and the amount of heat produced, Intel transitioned to indium metal, which is solid at room temperature and makes the Delidding procedure even more risky and dangerous.
I will never repeat this enough. You will void the warranty of your CPU and there is a chance to damage it permanently.
Tools needed:
Unless you want to risk the life of your CPU using the old method of razor blade and lots of patience (which may not work with 12-13-14 gen CPUS, due to the presence of small capacitors and traces very close to the IHS, that can be easily damaged), there are companies that luckily sell all the tools and materials needed in a convenient “delidding kit“.
The one I used is from Rockit Cool, it includes also a machined copper IHS to replace the default one.
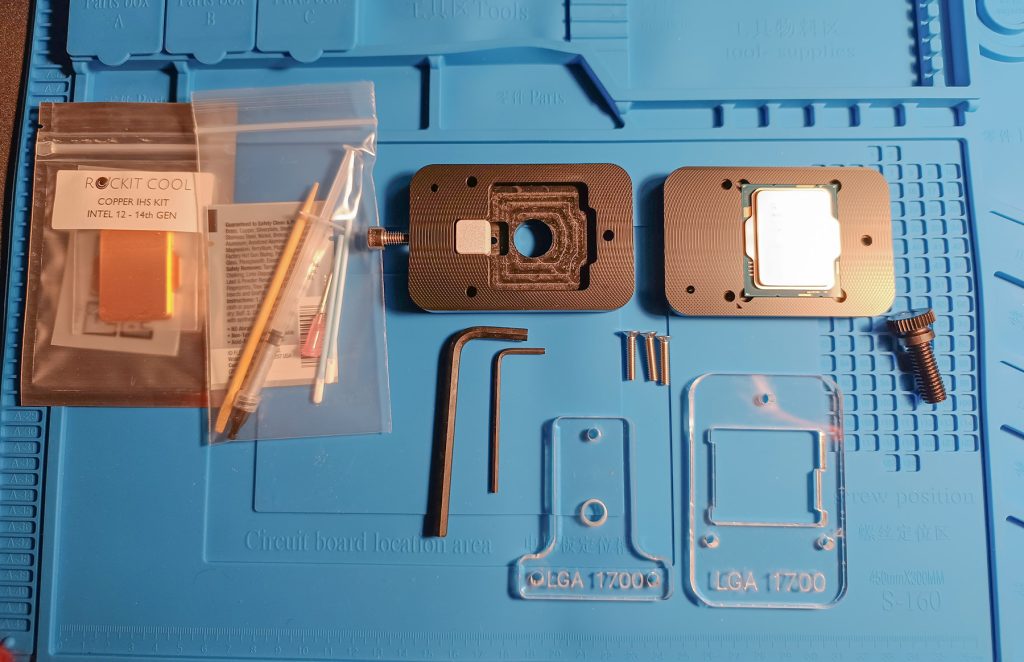
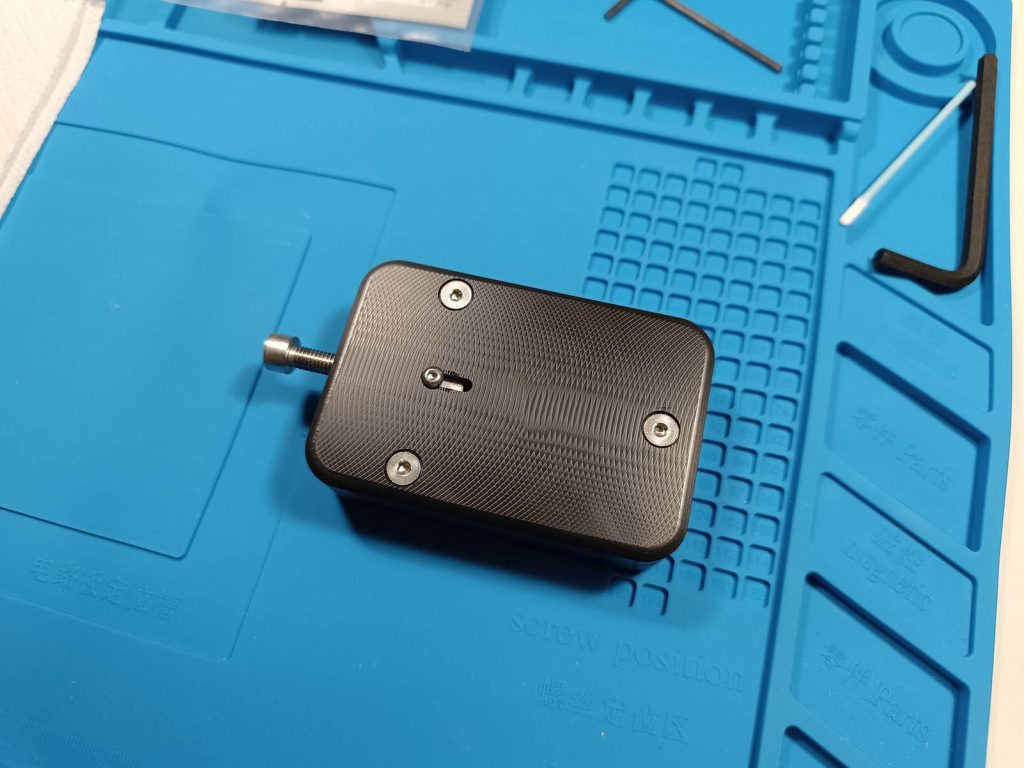
We can see in the picture the set of tools provided by the aforementioned kit.
– The first thing and the most important, the machined plastic tool with a screw and a metal portion to “push away” the lid of the CPU;
– A set of Hex Keys to operate the contraption;
– Two clear plastic brackets, which can be mounted on the delid tool after the procedure is done, to correctly position the IHS onto the cpu without it touching the little capacitors on the edge of the circuit;
– The copper IHS;
– A syringe of liquid metal (made mostly by Gallium) to clean the silicon die from the remaining TIM;
– Polishing paste, to remove the rest of the material from the silicon die.
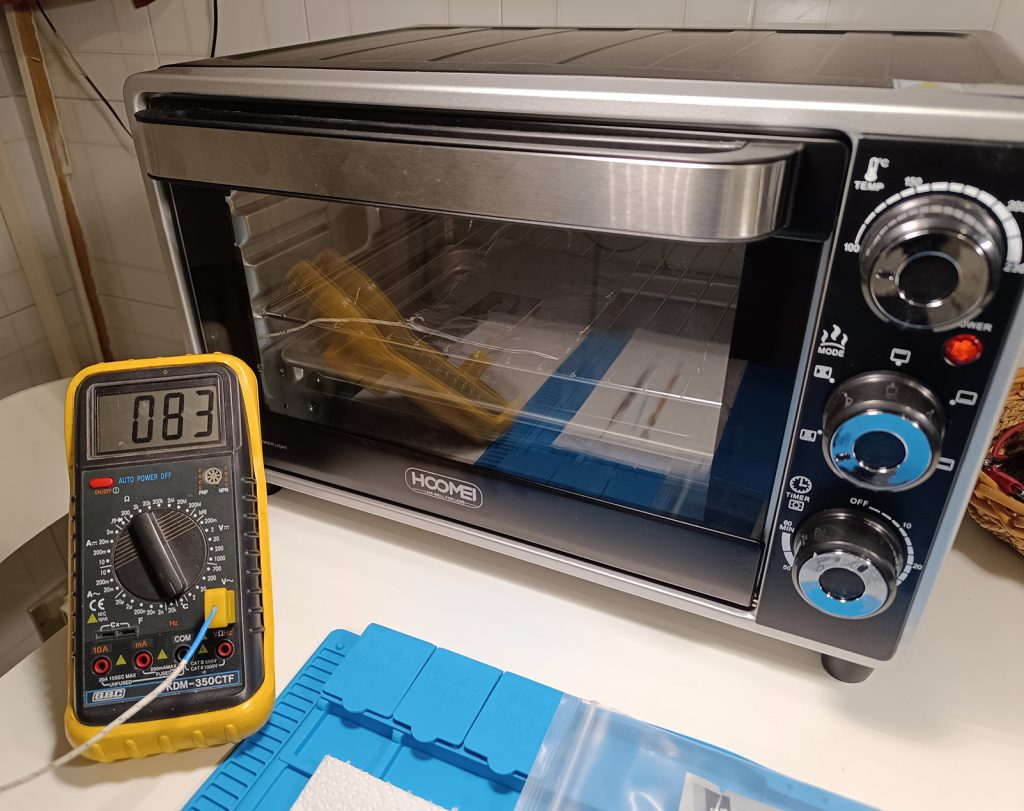
If you intend to follow the same procedure as I did, you need an oven and a thermocouple
You also need some Liquid Metal to apply to the silicon die after it’s clean (don’t use the liquid metal provided in the kit, that’s just for cleaning the chip). I used some Thermal Grizzly Conductonaut.
Step 0 (optional): the oven
Yes, exactly. I am going to put my very expensive CPU in an electric oven.
This step is not necessary at all and a lot of users are delidding their CPU while cold, but I found it safer and easier to leave the CPU in the oven until it reaches ~80-85C to weaken the indium metal and the silicone. Just make sure you don’t heat it up too much or burn it, in that case It will become irreparable.
In order to safely control the temperature of the CPU, I placed a few layers of aluminum foil in the oven with the CPU on top facing down onto the foil (the heat spreader needs to be in contact with the foil, NOT the golden pads and components on the other side).
Then inserted the thermocouple between the aluminum layers under the CPU to constantly monitor the temperature reached by the IHS.
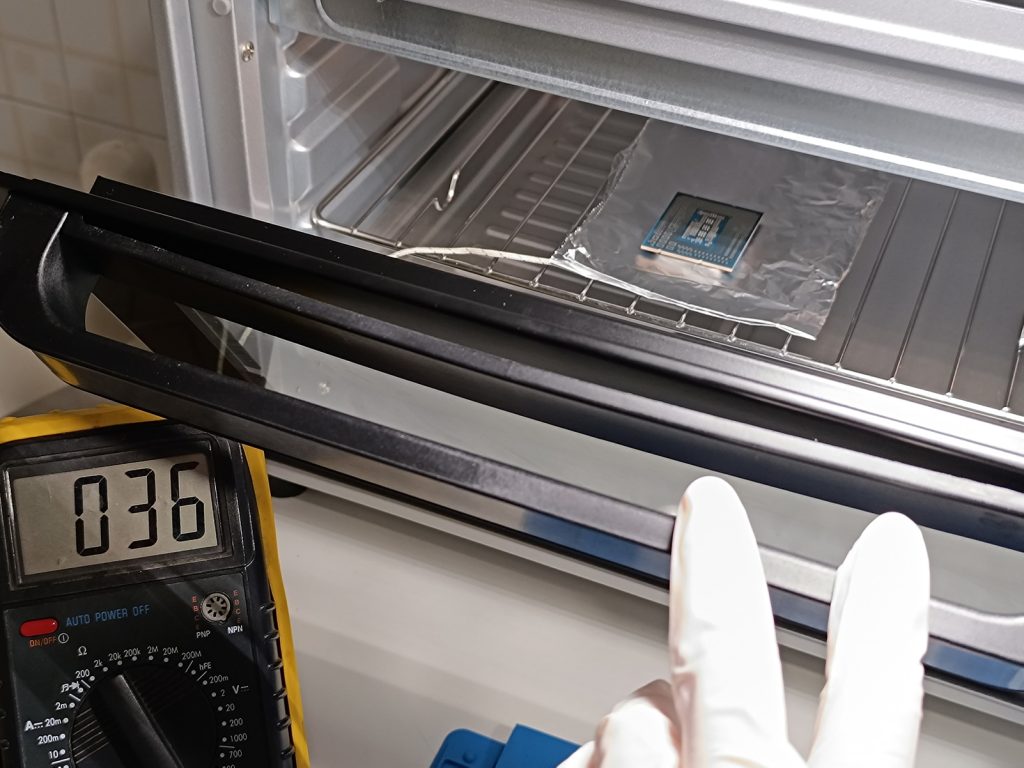
After turning the oven on low heat and carefully monitoring the temperature, wait until it reaches 80-85C. It would be optimal trying to make the temperature hover around that value for 5 minutes at least, by turning on or off the oven, opening it and closing it etc., In order to allow the inner and outer parts of the CPU to reach thermal equilibrium.
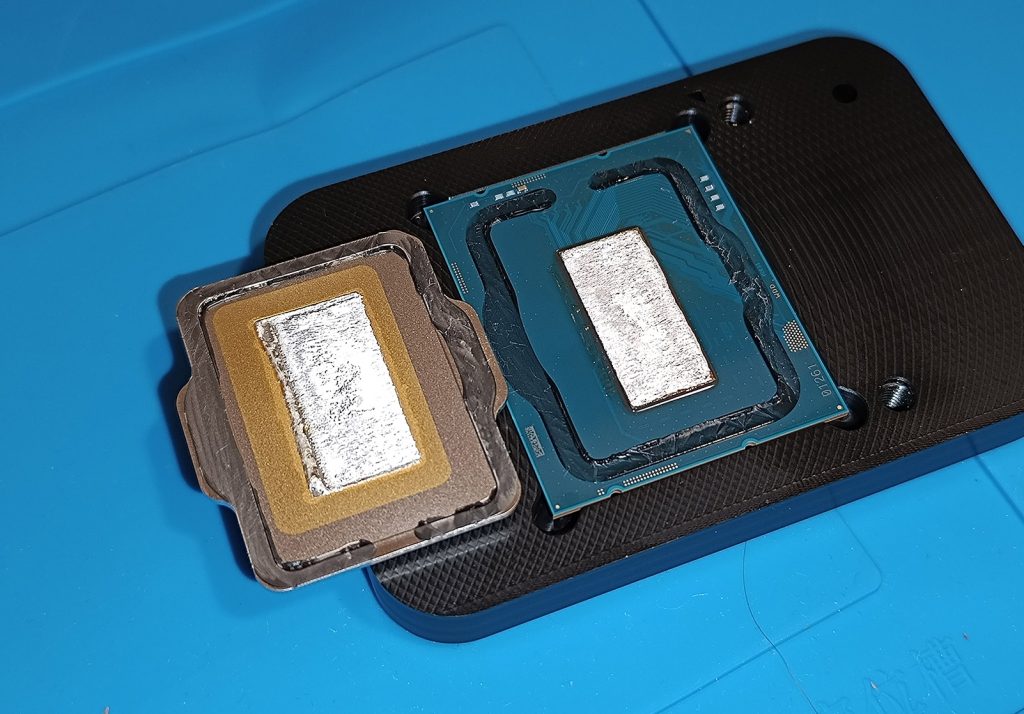
Step 1: delidding the CPU
Take the CPU out of the oven and insert it in the delidding tool following the instructions provided by the manufacturer. There is only ONE right WAY to place the CPU as the other way will destroy and rip all the capacitors from the board.
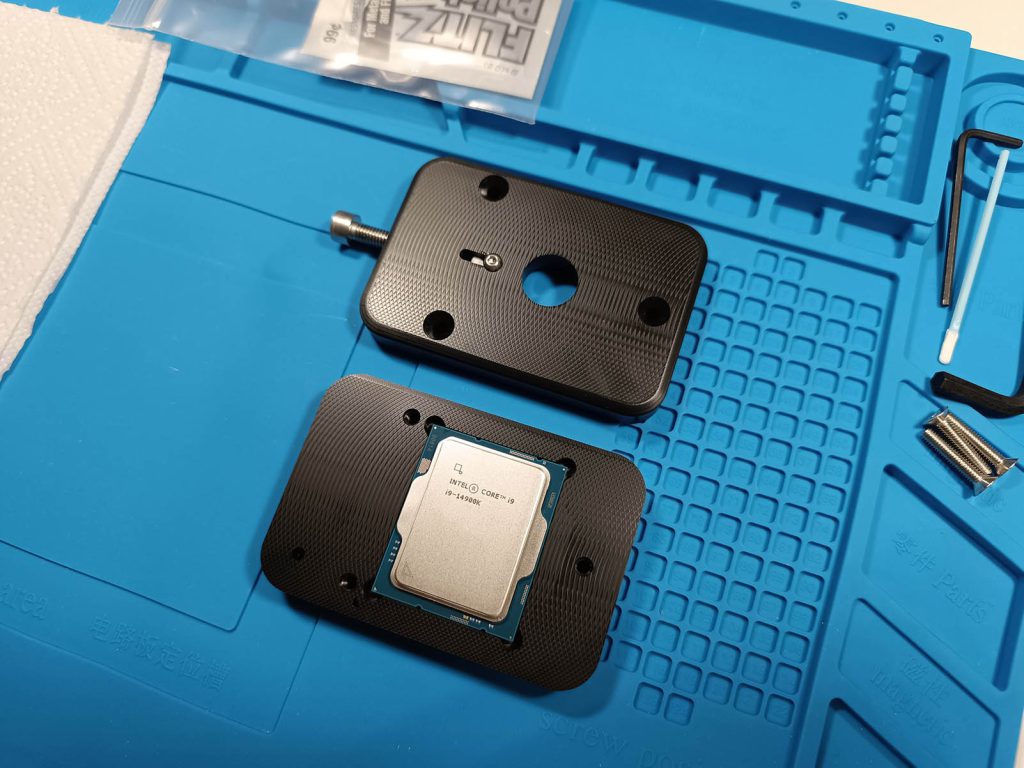
Once the tool is closed and the top screws screwed in tightly, use the Hex Key to turn the big screw so it pushes against the metal lid of the cpu. Continue applying pressure, it will take a lot of pressure for the lid to pop right off and slide away. Don’t go too fast, allow the Indium layer to weaken and the silicone rubber to crack and fracture. You will hear the a characteristic crackling sound once you’re close to completion. After this unscrew the tool and be careful not to damage anything, the silicon chip is very brittle, as well as the tiny capacitors on the board.
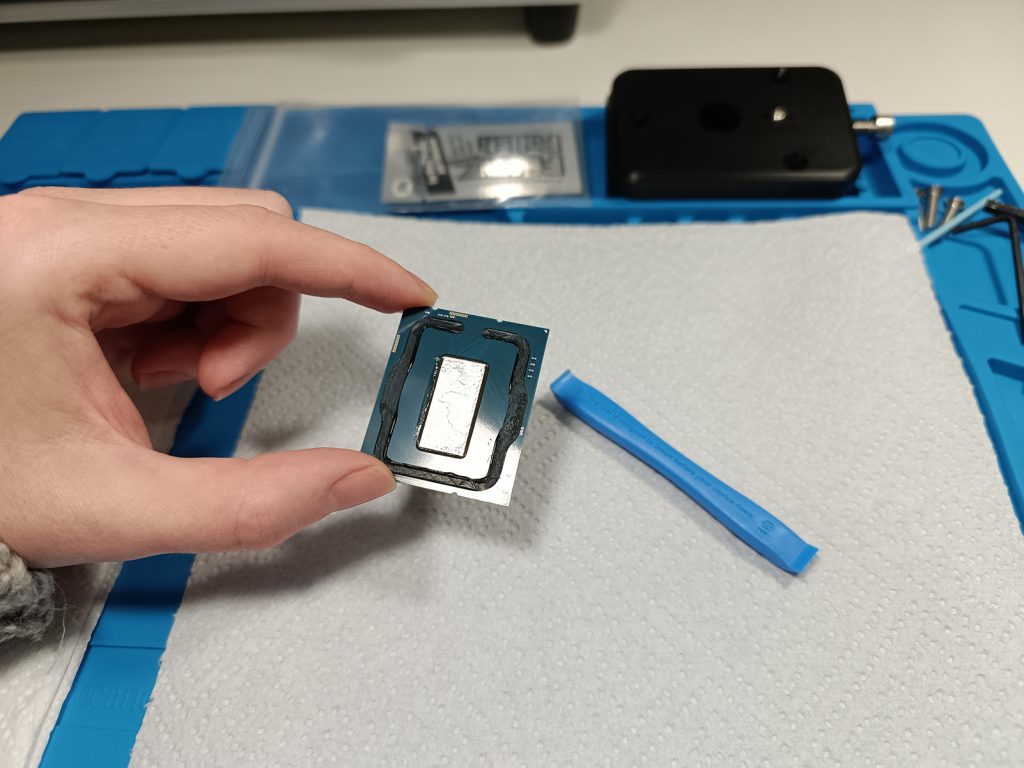
Step 2: removing the silicone gasket
First of all use a hard plastic or wood tool or to scrape away the silicone from both the PCB and the heat spreader. Do not use anything made of metal, it would cut through the traces easily and damage the CPU!

Step 3: removing the indium metal and polishing
In order to have the minimum possible distance between die and IHS, we need to remove the solid indium and later on apply some liquid metal.
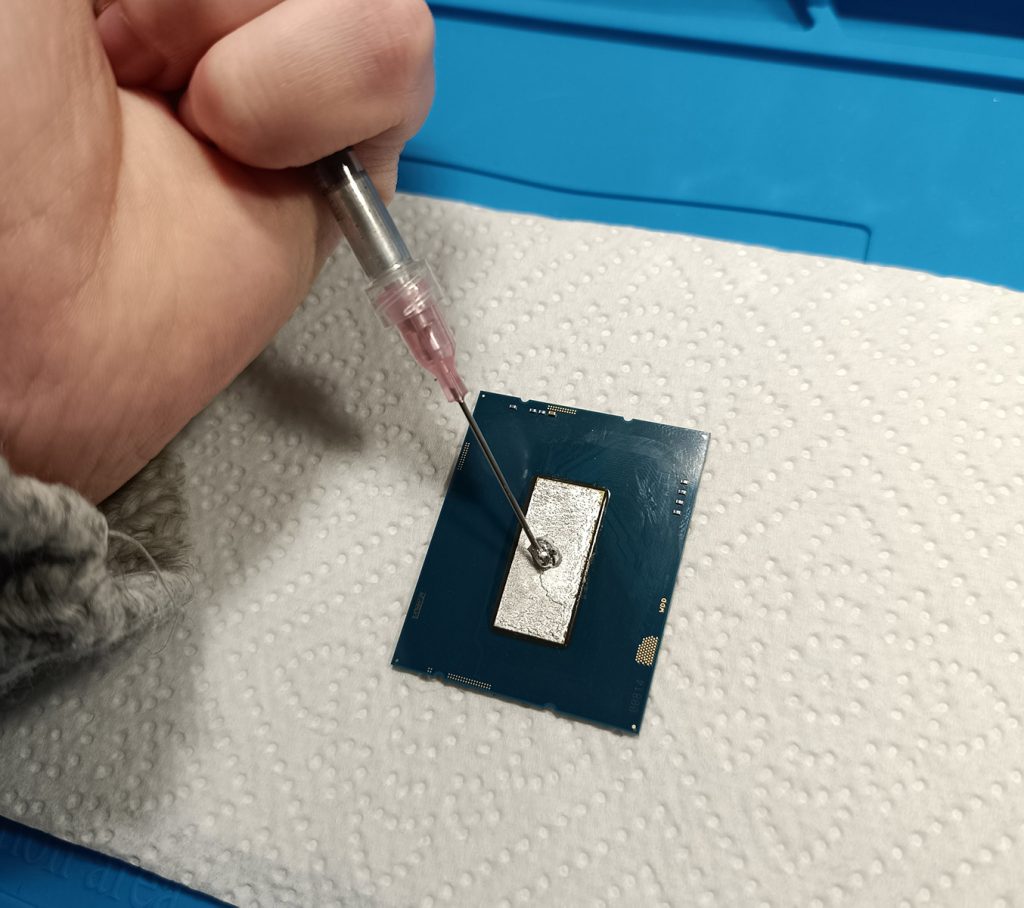
Indium is very soft, you can use the same plastic or wooden tools to do the procedure. Try to remove as much indium as possible mechanically to make the next part of the process easier.
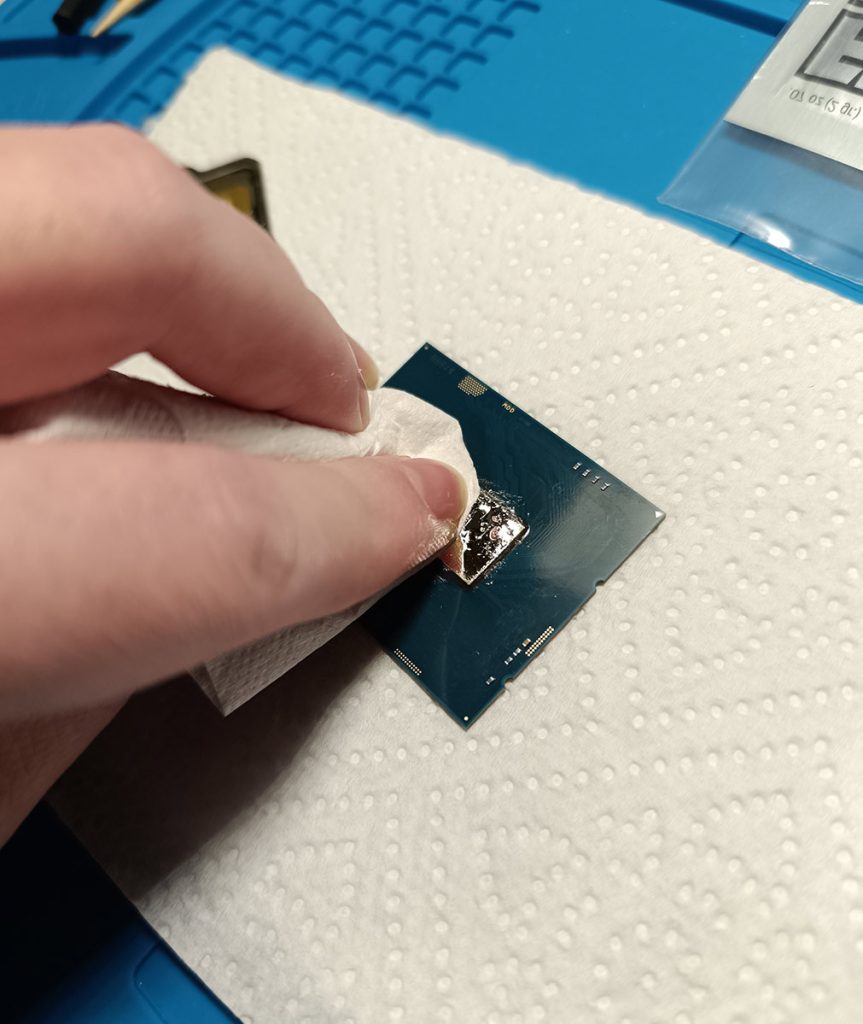
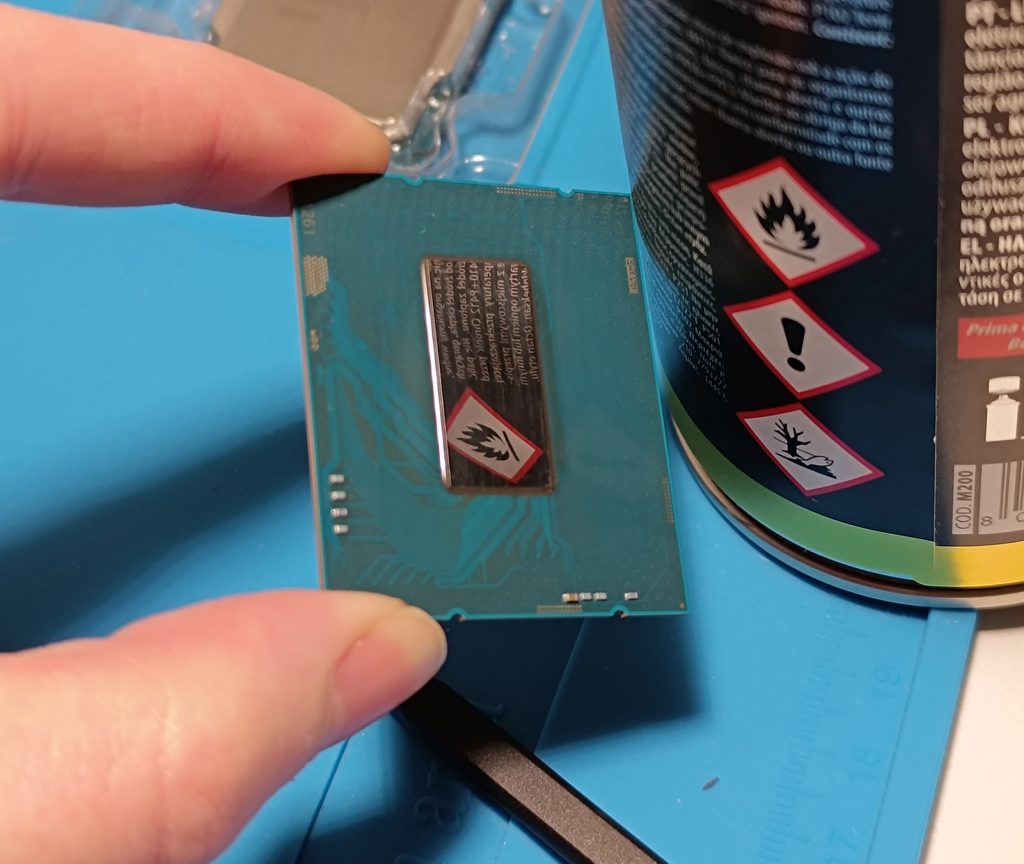
After removing the majority of the indium you are recommended to use some of the liquid metal provided in the kit. Just spread a small blob of it on the die, like in the picture, and leave it there for a few hours. Indium is slightly soluble in liquid metal so it will just transition from solid state into solution and detach from the silicon.
Remove the liquid metal with a paper towel and repeat the procedure 1 or 2 more times, until all the indium is gone. I am not showing it here but you need to do the same with the nickel plated IHS if you are going to reuse it.

After this you can polish the die and the inner part of the IHS using some of the polishing gel provided in the kit. Simply apply another blob of gel on a paper towel and rub it over the die until it’s clean from any residue and shiny. The result is staggering and turns the silicon in a little mirror.
Step 4: reapplication of the TIM
This step is quite straightforward, just take your liquid metal, in this case the Thermal Grizzly Conductonaut, and apply a very small portion of it on the die and on the back of the IHS, where the silicon is going to touch. Spread the liquid metal evenly, covering all the spots. You don’t need to apply too much liquid metal, otherwise it will run off the die and cause shorts on the rest of the PCB.

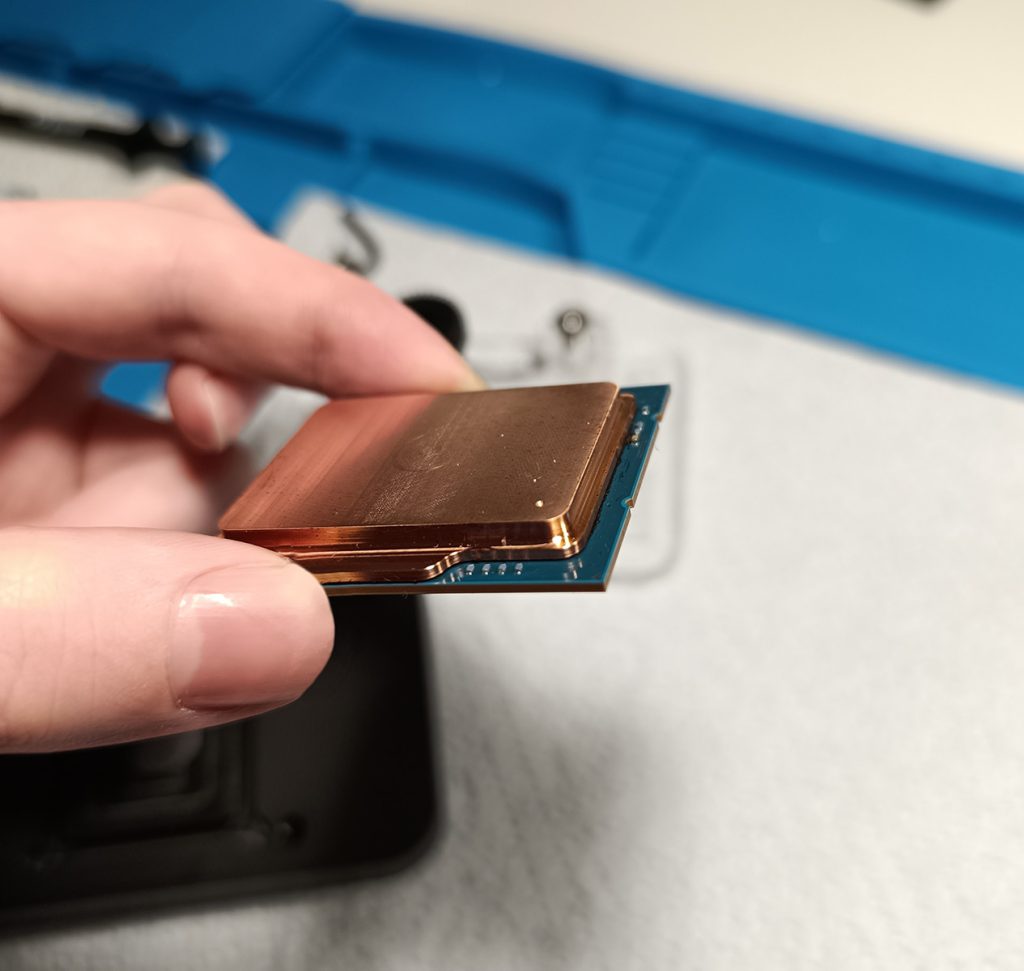
In my case I used the copper IHS instead of the original one
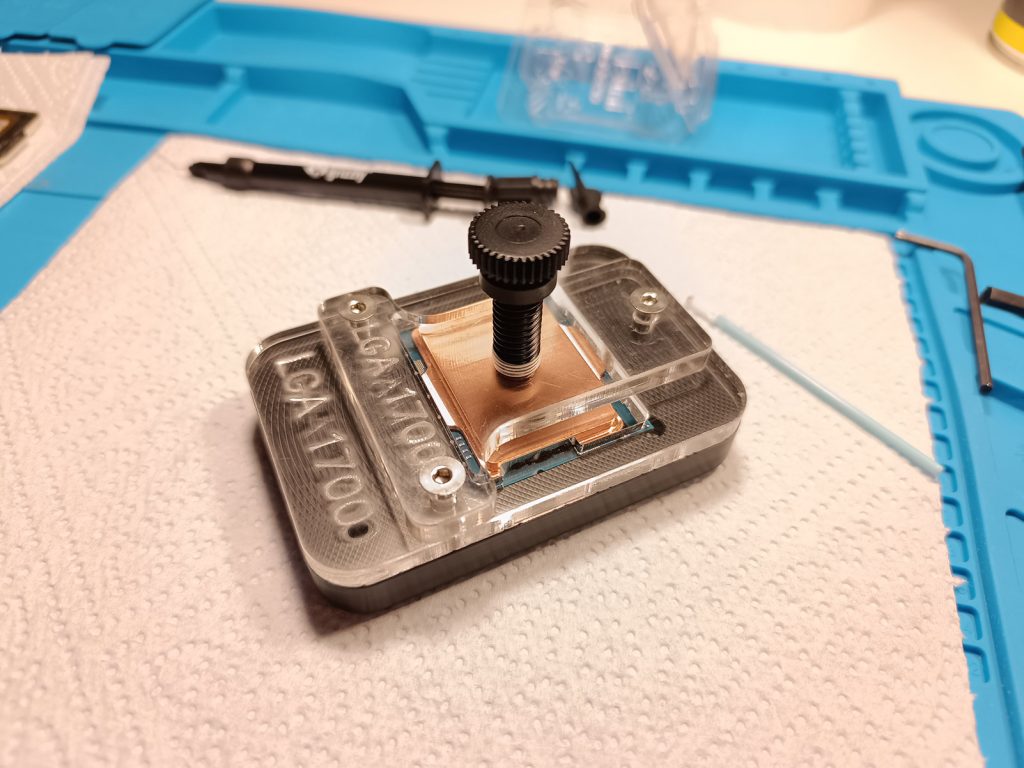
Step 5: relidding the CPU
Follow the instructions in the manual to mount the relid mechanism on the delid tool.
Apply some heat resistant glue or silicone on the edges of the IHS to make it stick to the PCB.
Lower the lid onto the die and secure it in place until it’s fully cured.
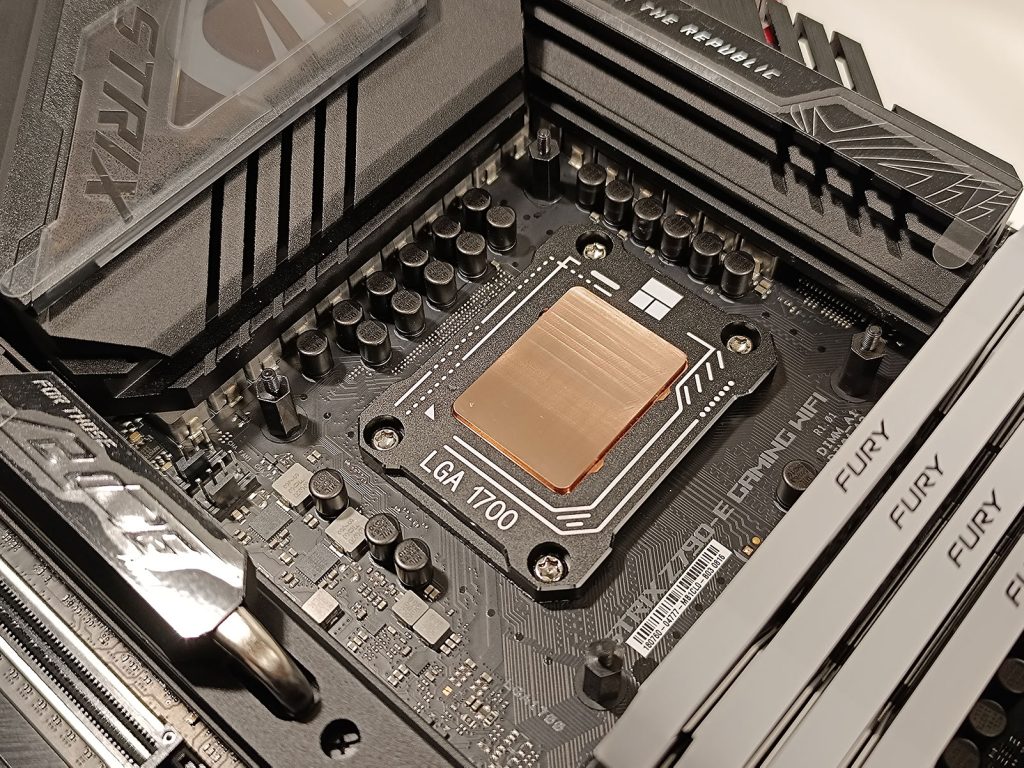
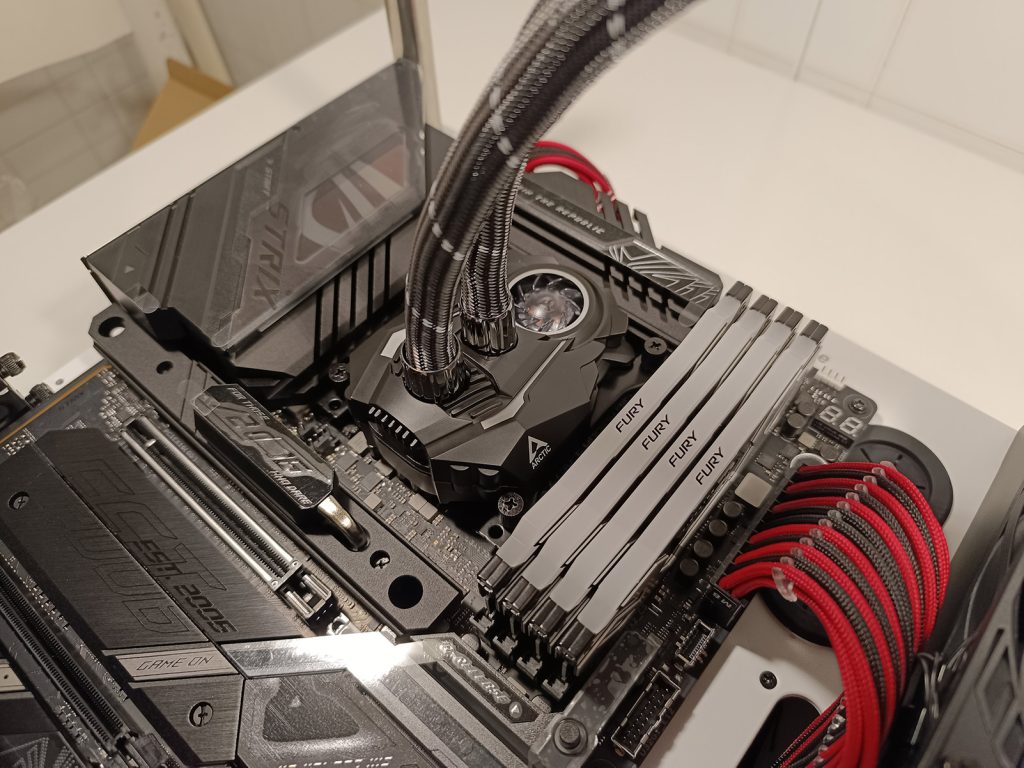
Step 6: mounting the CPU and the cooler
Mount the CPU in your system, I chose to removed the stock Intel CPU mount and replace it with a Thermalright LGA 1700 bracket for an even pressure on the whole PCB.
Doing this will probably void the warranty of your motherboard as well if you aren’t careful.


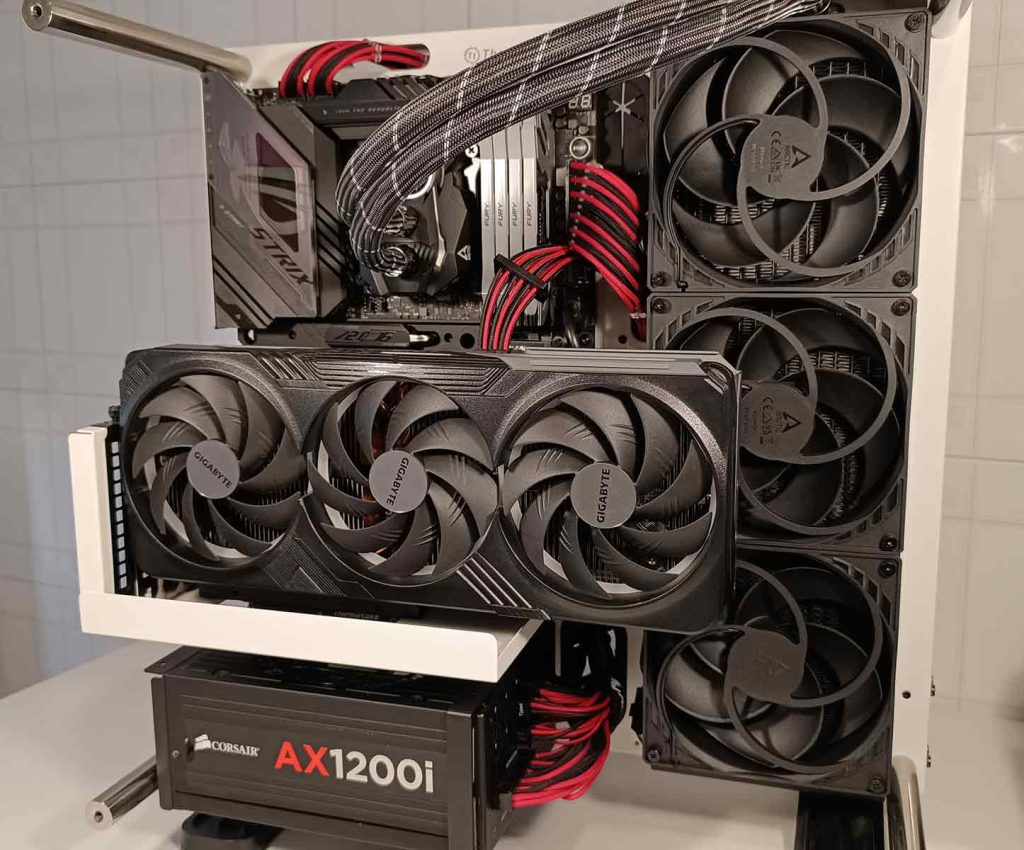
PC testing and conclusion
Be aware that everything done here will potentially kill your system if you don’t pay enough attention or do things carefully enough.
This post wants to serve only as a journal of what I did with my system and I am not responsible for any damage to your computer, if you decide to do this procedure it will be at your own risk.
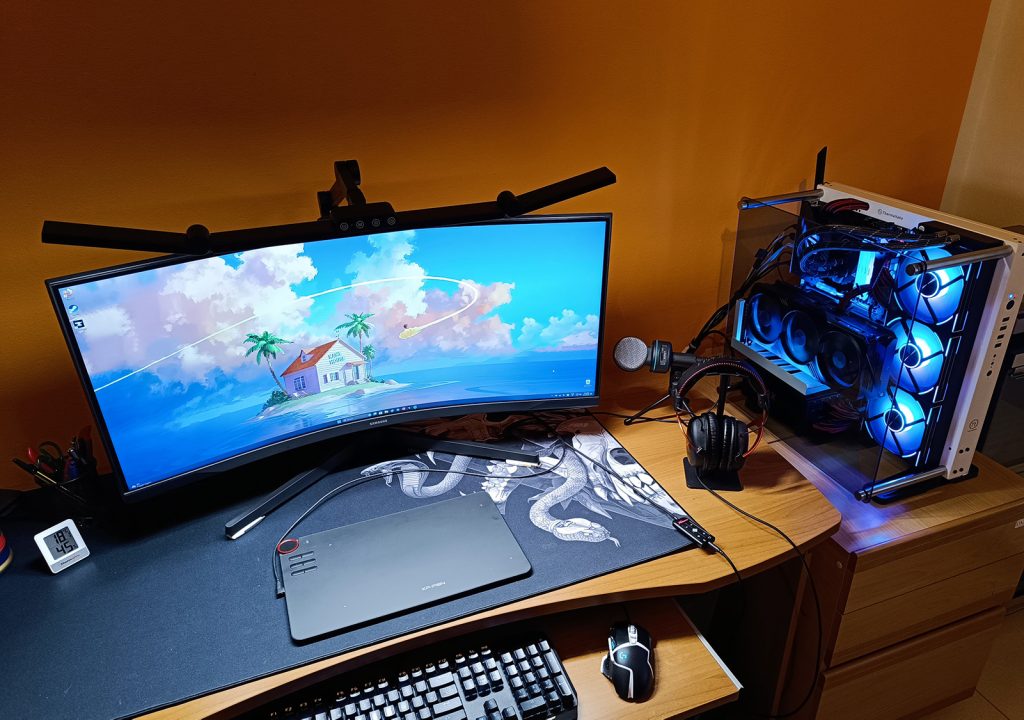
I have been using the system daily since I did this procedure, more than a year ago. In fact, it’s the same system from which I wrote this article.
Was it really worth it? It really depends on the situation, If you are a content creator or like me, render massive 3D files on your computer with prolonged CPU usage, having the CPU 10-15C less hot means more stability, less thermal throttling and sustained high frequencies for longer, with beneficial effects on performance.
Delidding has been proven beneficial in several occasions, now it’s up to you to decide if it’s worth your time (and potentially money).